The software I used was MemoriesOnTV. This is software designed to be used to create slideshows and allows you to pan across and zoom in and out of images and add a soundtrack to each slide or to the entire show. You can download a trial version of the software here: http://www.codejam.com/slideshow/features.htm.
To start the project, import your main photomosaic image.

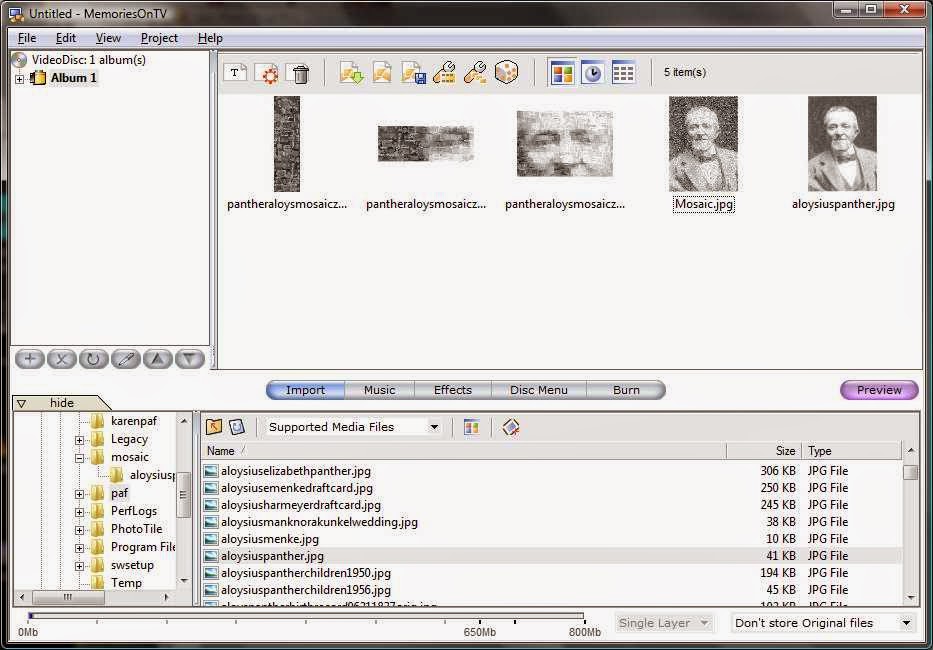
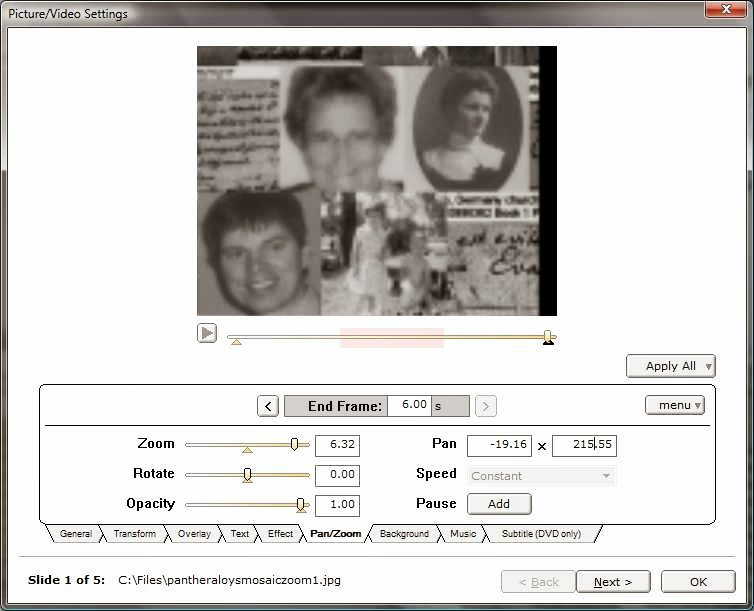
Next you'll begin to set up your animation. Drag each photo into the correct location in your slideshow. The order you see them in on the main screen is the order they'll be played. Right-click the first image and select "Configure Slide".
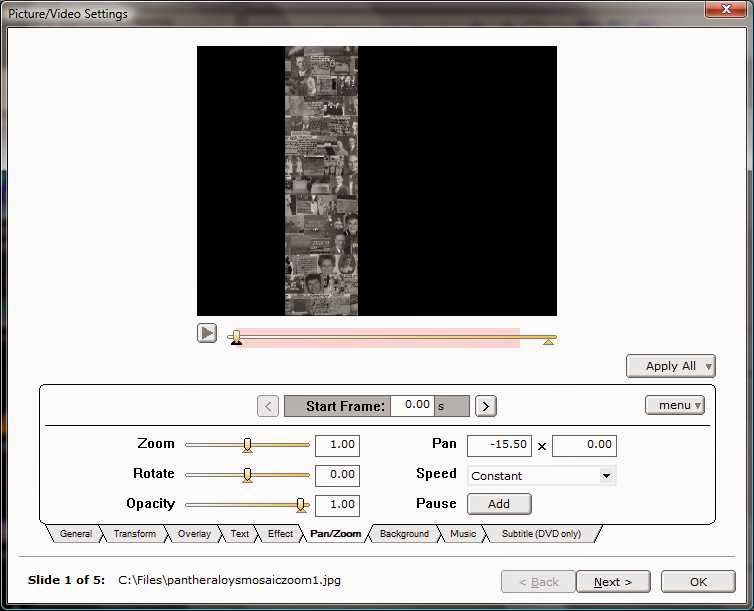
The trick that took me a bit to figure out is that when the arrow below the image is on the left and it shows "Start Frame", that is where you will focus at the beginning of the slide.
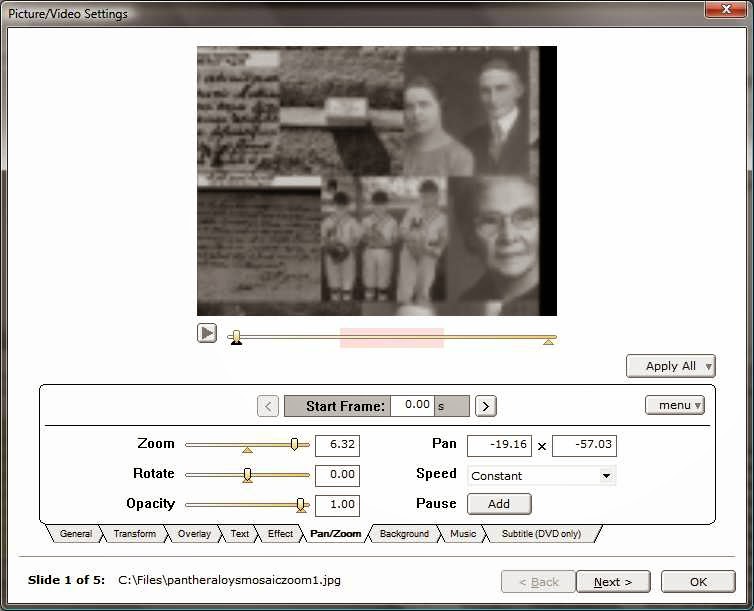
Drag the arrow to the right so it shows "End Frame". This is where this frame will end.
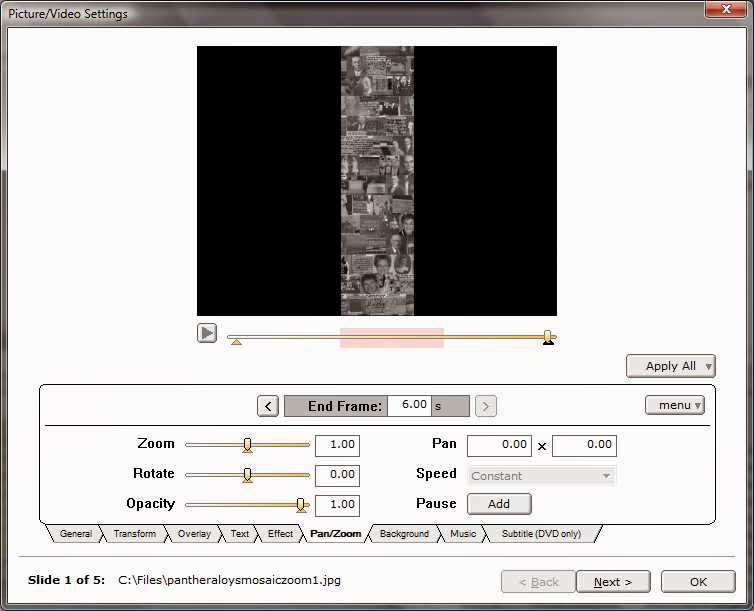
If the zoom level is less than the start, it will zoom out, if it is more than the start, it will zoom in and if it is the same, the end result will be a pan from the start location to the end location.
Go to the Effects tab of this slide. Here you can select the transition between slides. I only used Fade in my project. Select the length of time it will take for the transition (how long the fade will last) and Slide Delay (how long the slide will last).
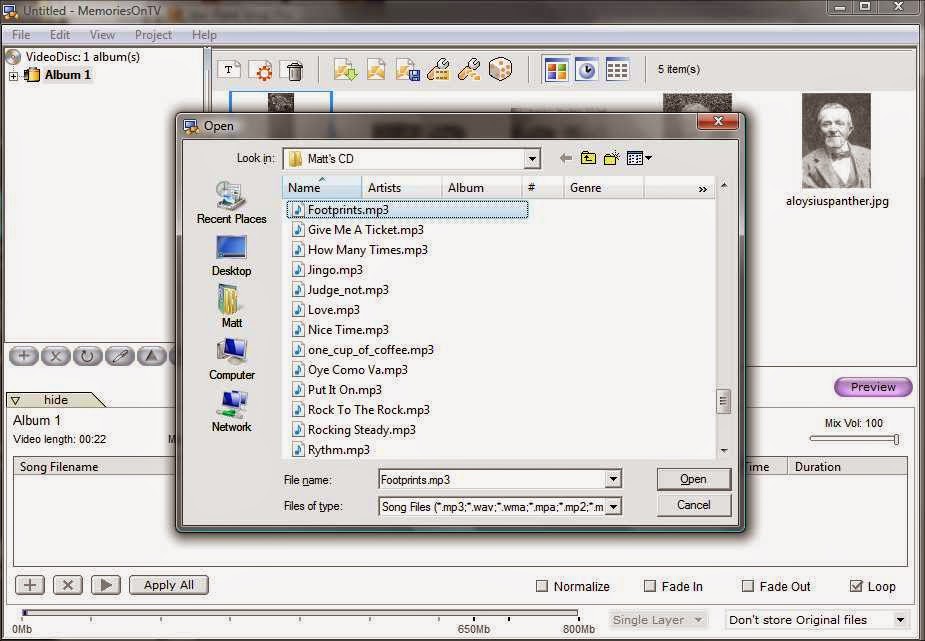
Back on the main project page, go to the Music tab and browse to the mp3 file of the music or other soundtrack you want to have play during your slideshow.
Edit each of your slides the way you want them to pan and zoom but only put music on the first or overall slide and not on each individual slide unless you want different music on each slide. When finished, go back to the overall view of the project, go to the Music tab, click the arrow next to Tools and select "Sync all music and slides". This will set the beginning of the slide show with the beginning of the music track and the end of the slide show with the end of the music track.
When you think you have it, click the Preview button. Go back and edit as desired and Preview again. When satisfied with your project, go to Project and select "Export as MPG/AVI file", give the movie a name and save it.
Keep in mind that this is a very high-level tutorial. It will take some time and effort to learn all the intricacies of the software to get your video just how you want it. Mine still isn't perfect but I like how it looks. Here is my video of an animated photomosaic of Aloys Panther, my great-grandfather.
http://youtu.be/WxX7K7bizzs
For the soundtrack, I used a song played at our wedding that, if you pay attention to the lyrics, speaks about what a man leaves behind in this world after he dies. I love this song and believe it fits perfectly into a project such as this. I've improved on this video and changed the link so you're seeing what I consider to be the best version so far.
--Matt
No comments:
Post a Comment