Many people say to only save scans and photos in .tif format. The reason for this is that a .tif file is not compressed at all. The file tells the photo viewer/editor that this bit is this color, the next dot is another color and so on for every single dot in the photo. The larger the dimensions of the photo, the larger the file size, no matter what. This way, when a file is edited and resaved, all of the changed bits are changed in the file and the file size remains the same.
A jpeg file, however, is compressed. This means that the file tells the photo viewer that from this dot to this dot, all of the dots in between are close enough to this color, and all of the dots between the next set of dots are a different color. It approximates the colors for a group of pixels (dots) instead of specifying the exact color for each and every pixel. This allows the file size to be much smaller. Most images on the web are saved in jpeg format, although .png is becoming more popular. Most of the other file types also compress photos. The difference is the way the file is compressed.
The problem with compressed files is that when you edit the file and resave it, it is then recompressed before it is saved. This means it takes a compressed file, makes your changes to it, then compresses it again. To do this, it resamples the colors of the image to recalculate how to save the file using the smallest amount of file space. Each time this happens, you lose more of detail of the image. For a file you're going to edit many times over, you definitely don't want to save the file like this
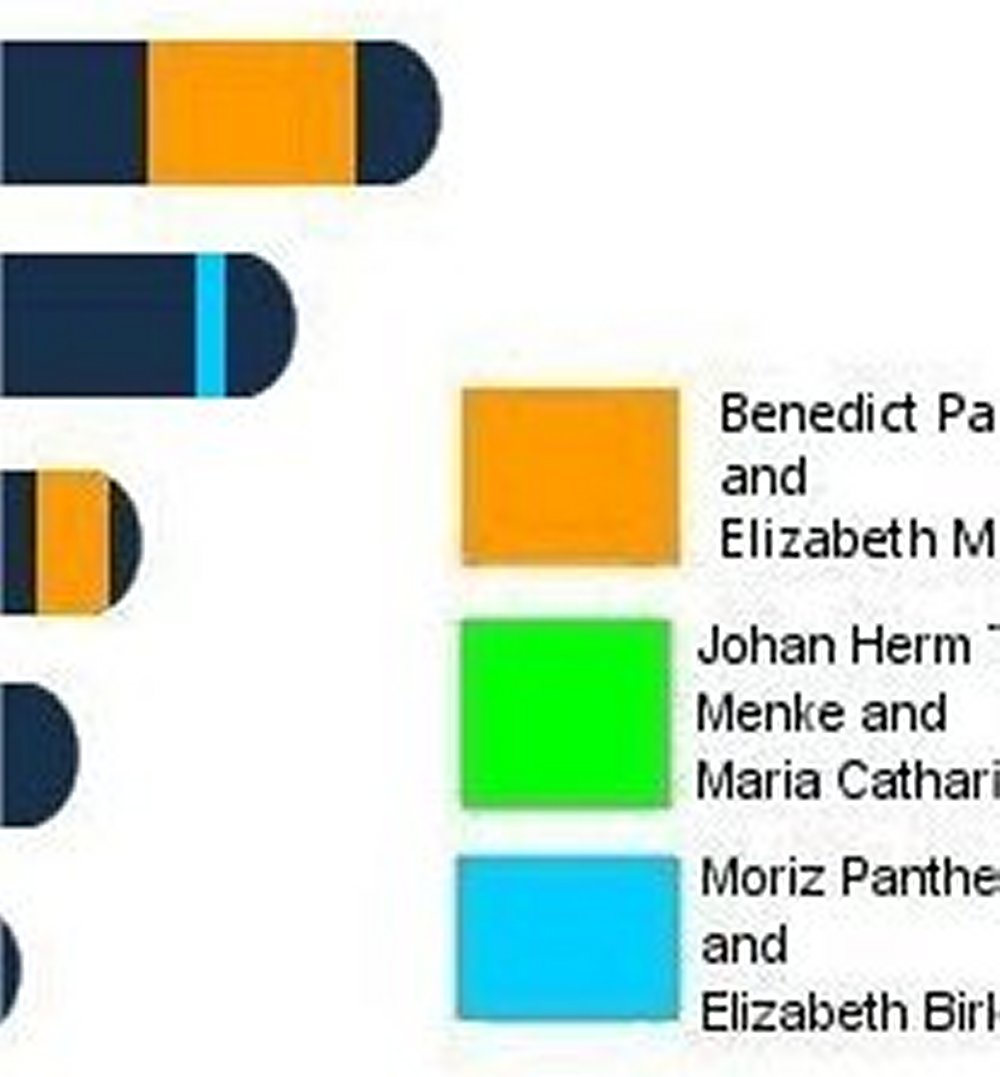 |
| This screenshot of my Family Tree DNA chromosome map has been resaved and recompressed multiple times. You can see the jpeg artifacts that are now part of the image. Imagine a highly detailed old photograph that has been resaved many times. |
If you scan it in at a high enough resolution, saving it as a jpeg file will be fine because the corruption added to the image will be smaller than the finest detail of the original photo. Then, once it is saved once, never resave the file over the top of the old file. Should you ever decide to add text to the image border or lighten or darken the image or adjust the contrast, be sure to save it to a new file. Always leave your original scan alone. Never edit and save to the same file. This way, you won't lose any detail by recompressing an already compressed image. While disk space to save your files is cheap, having a large number of enormous files will be very difficult to work with. Save them as a compressed file, just don't recompress the image to the same file.
--Matt
No comments:
Post a Comment