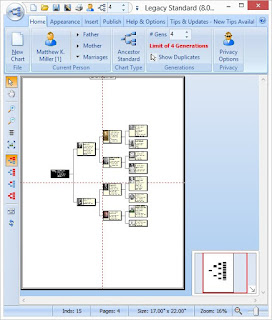
First, if you don't already have it, download the free version of Legacy Family Tree software from http://www.legacyfamilytree.com. I believe this software is good enough quality to purchase the full version but even the free version will create this chart for you.
Once the software is installed, you can import from PAF or a .ged file you can export from your current genealogy software. Once you have your tree in Legacy, add only the one image for each individual you want to appear on your chart.
Have the person you want as the root person of your chart as your primary person in Legacy, then go to My Toolbar, Legacy Charting.

Select the type of chart you want to use. For this project, I selected Standard.

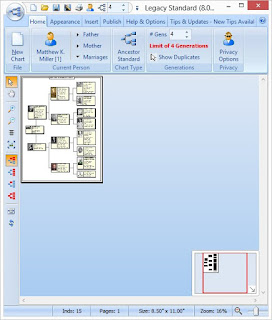
Drag the full tree and the branches to the point where they'll fit into one of the pages shown and you'll be able to print it out on a single 8.5" x 11" page. You can also leave it on multiple pages and print out all the pages, then tape them together if you prefer.

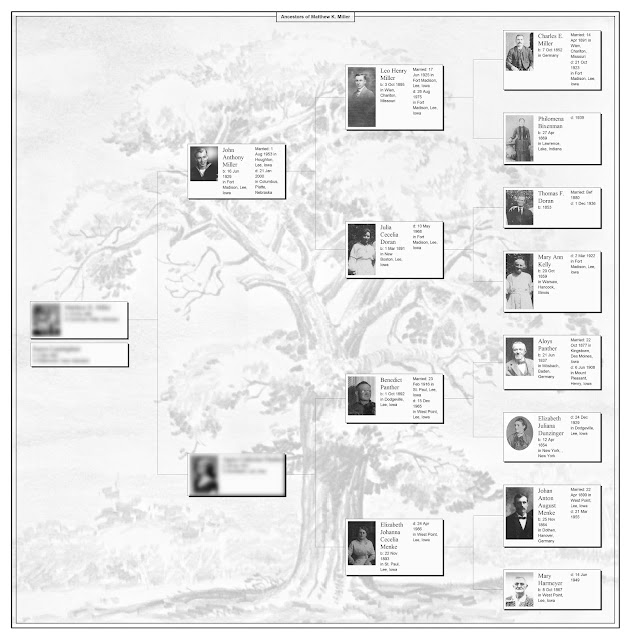
Finally, once the tree is lined up the way you want it to appear, you can add a background image. Go to Insert and click Picture. Browse to the image you want to add and click Open. I selected the scan I have of the sketch my wife found at the antique store the day after I proposed to her. The sketch is of the oak tree in Crapo Park in Burlington that we had a picnic in front of when I proposed to her. What better image to use as the icon of my family tree work?
Once it's inserted, drag the black boxes to resize the image or drag the image to center it.
Once you have it looking the way you want it, click Print. I printed mine in black and white because the older images are in black and white and I didn't want the more recent photos to overwhelm the older ones. The photo I put in there of myself is of me and my wife and in a photo editing program, I added another box below mine with her information.
Here's how my family tree looks, with my and my mother's information blurred out.

--Matt


No comments:
Post a Comment